Ideal Crawl Space Humidity: Targets and Warning Signs
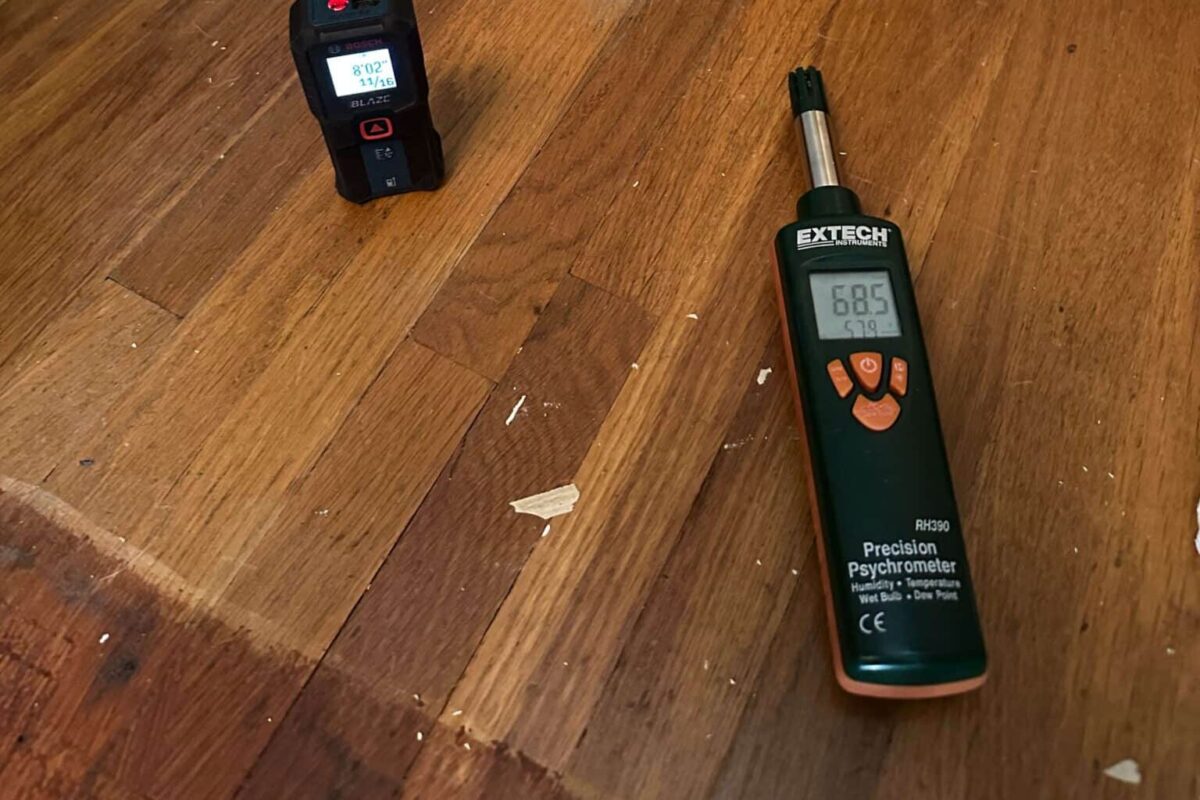
A psychrometer and a laser distance meter illustrate different inspection tasks; neither is one of the recommended monitor models. Photo: iDry Columbus, CC BY 4.0. Cropped/resized by CrawlSpaceInsight.
An ideal crawl space humidity level is a stable, verified reading that keeps the building dry—not simply a number on the dehumidifier display. EPA’s general indoor guidance is to keep relative humidity below 60%, ideally between 30% and 50%. In a crawl space, interpret that guidance alongside temperature, cold surfaces, moisture sources and the equipment manual.
For many projects, a setting around 50% is a reasonable point to discuss with the installer, followed by independent measurements. It is not a guarantee against condensation or hidden damage. The EPA’s moisture guidance supplies the general humidity reference; the checking routine below is our practical framework for using it.
Take a useful reading before buying equipment
Begin with a temperature-and-humidity monitor that can record a history. Put it in a representative, accessible location away from direct discharge air, a wet surface or an exterior opening. If the crawl space has separate sections, a second measurement point can reveal a problem the first one misses.
Affiliate disclosure: Amazon links in this guide are affiliate links. As an Amazon Associate I earn from qualifying purchases.
For basic Bluetooth logging in a protected, non-condensing location, the Govee H5075 is one option. It does not provide off-site Wi-Fi alerts; check the monitoring features and operating limits before choosing.
A sensor directly in the warm, dry outlet stream may report conditions that the far end of the crawl space never experiences. A sensor touching damp masonry may describe that local microclimate. Neither reading is necessarily defective; its position may simply answer the wrong question. Our humidity monitor comparison explains which devices provide local readings, logged data or genuinely remote alerts.
What different humidity readings mean
Use the following table as an investigation aid rather than a building inspection certificate. Duration and location matter. A short spike when an access door opens deserves a different response from several days of elevated readings in multiple locations.
| Reading or pattern | What to check next | What it does not establish |
|---|---|---|
| Around 30–50% RH, stable | Confirm the sensor location and check for local wet surfaces | That every piece of framing is dry |
| Repeatedly above 60% RH | Verify the reading; inspect moisture sources and the drying strategy | The size of dehumidifier required |
| Brief spike after opening a door | Compare the recovery trend and outdoor conditions | That the installed machine has failed |
| Low beside the machine, high elsewhere | Check air paths and additional measurement points | That a bigger machine alone will solve it |
| Condensation at a seemingly acceptable RH | Compare cold-surface temperature with air dew point | That the humidity monitor must be wrong |
Relative humidity changes with temperature
Relative humidity describes how close air is to saturation at its current temperature. Cool the same air without removing moisture and its relative humidity rises. Warm it without adding moisture and the relative humidity falls. That makes two readings taken at different temperatures difficult to compare by percentage alone.
A dehumidifier also releases heat while operating. If a nearby sensor shows a lower humidity percentage, part of that change may reflect warmer air as well as moisture removal. Look at temperature and, where available, dew point alongside RH. A trend recorded at the same location is usually more informative than an isolated screenshot.
This also explains why a cool duct, pipe or masonry surface can collect moisture even when a sensor elsewhere appears reassuring. Condensation depends on the surface reaching or falling below the surrounding air’s dew point. Humid summer air entering a vented crawl space can increase the moisture load and make the problem harder to control.
Humidity is different from wood moisture
An air sensor reports the air around it. A wood moisture meter attempts to assess moisture in the material. They are different measurements with different limitations. A pin-type meter, a pinless scanner and an air hygrometer should not be compared as though they measured the same percentage.
Framing can remain wet after the air reading improves, especially where leaks have soaked a limited area. Conversely, one high air reading does not tell you the condition of every joist. If the floor feels soft, wood is visibly damaged, or a musty smell persists, a competent inspection is more useful than repeatedly lowering the setpoint. Trace persistent odors to their source rather than trying to mask them.
A simple monitoring routine
Give the sensor the acclimation time stated by its manufacturer before interpreting a new location. Record where it sits, whether the door or vents were open, and whether equipment was running. Add rainfall and any known leaks to the notes. This turns the data into a record of conditions rather than a collection of unexplained percentages.
- Keep the main sensor in the same representative location during the comparison.
- Log both temperature and RH over several days, including a wet-weather period when possible.
- Compare a second sensor side by side first, then use it to check another compartment.
- Note drain problems, equipment changes, power interruptions and door openings.
- Revisit the trend after a repair to see whether the suspected source was actually reduced.
Side-by-side agreement is a useful check, but two matching consumer sensors do not become a calibrated reference. If readings drive an expensive repair decision, ask the inspector what instrument was used, where it was placed and how its suitability was checked.
Investigate persistent high humidity in a sensible order
First look for active water. Rainwater, a plumbing leak or a condensate line discharging into the crawl space needs its own repair. Check roof runoff, grading and visible entry paths before choosing drying equipment. Water under a liner also deserves investigation even when the top of the plastic looks clean.
Next look at the ground cover and the air boundary. Bare soil, damaged seams and outside-air leakage may increase the load. A suitable vapor barrier system addresses a different pathway from a dehumidifier. Neither should be described as a substitute for the other in every home.
Then evaluate the drying mechanism. If source control is adequate but RH stays high, compare the appliance’s documented operating limits, capacity and air distribution with the actual conditions. Our crawl space dehumidifier comparison helps you organize that purchase decision. Avoid using a product’s advertised coverage area as a diagnosis.
Should you lower the dehumidifier setting further?
Lowering the setpoint can increase run time without resolving the source of the load. It may also be inappropriate for the actual operating temperature or the equipment’s control range. Begin with the manufacturer’s instructions and the installer’s target, then verify conditions away from the unit.
If the setting is 50% while an independent sensor reads 55%, check location, sensor tolerance and the controller’s switching behavior before assuming a fault. The appliance may use a control band rather than hold one exact number. Describe the pattern to the installer, including whether water is draining and whether the machine cycles normally.
Questions worth asking during an inspection
Ask where the moisture is coming from, how the proposed work interrupts that pathway and how success will be checked. A proposal should identify any remaining wet materials, the intended humidity-control method and access for future checks. A promise of a single “perfect” humidity number is less useful than a plan you can monitor.
Is 60% automatically an emergency?
One reading does not establish the urgency or extent of damage. Repeated elevated readings deserve a prompt investigation, particularly with condensation, odor or visible water. Electrical hazards, sewage contamination, suspect structural damage or extensive mold change the response: get appropriate professional help rather than entering to gather more readings.
Can humidity be low while a leak is still present?
Yes. An air sensor can miss localized wetting, and equipment may keep the average air relatively dry while a leak continues to damage one area. Use the monitor to supplement visual and professional assessment, not to overrule clear evidence of water.